Making your own homemade black beans is easier than you think!!
-
-
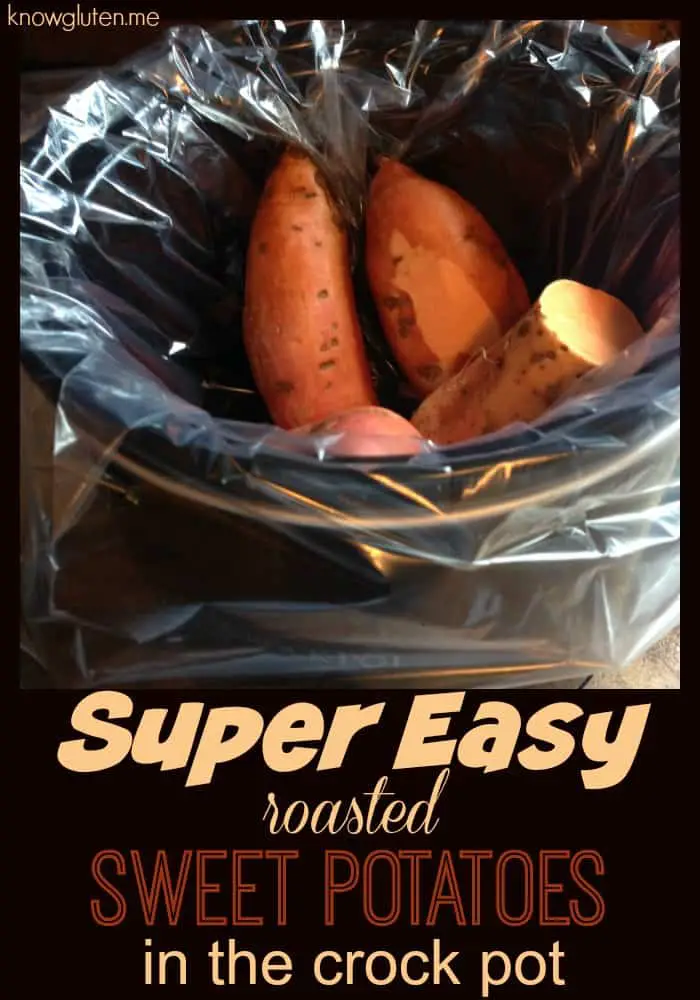
Super Easy Roasted Sweet Potatoes in the Crock Pot
Guys, this recipe is actually so easy, it’s almost not a recipe. Naturally gluten free sweet potatoes are a staple in our house.
-
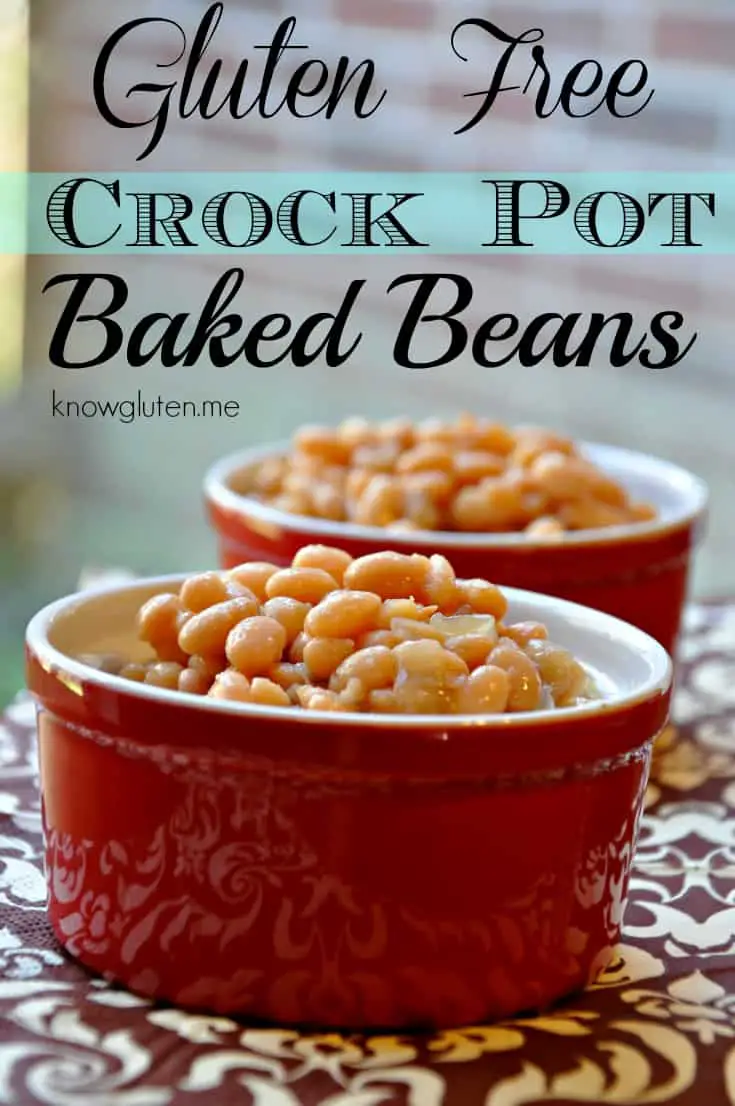
Gluten Free Baked Beans in a Crock Pot
I think every area of North America, or maybe every family in North America, has a different way to cook baked beans. When I was growing up in Canada, “traditional” baked beans had no thick and tangy tomato sauce like the canned beans we occasionally buy now. They were soft,…
-
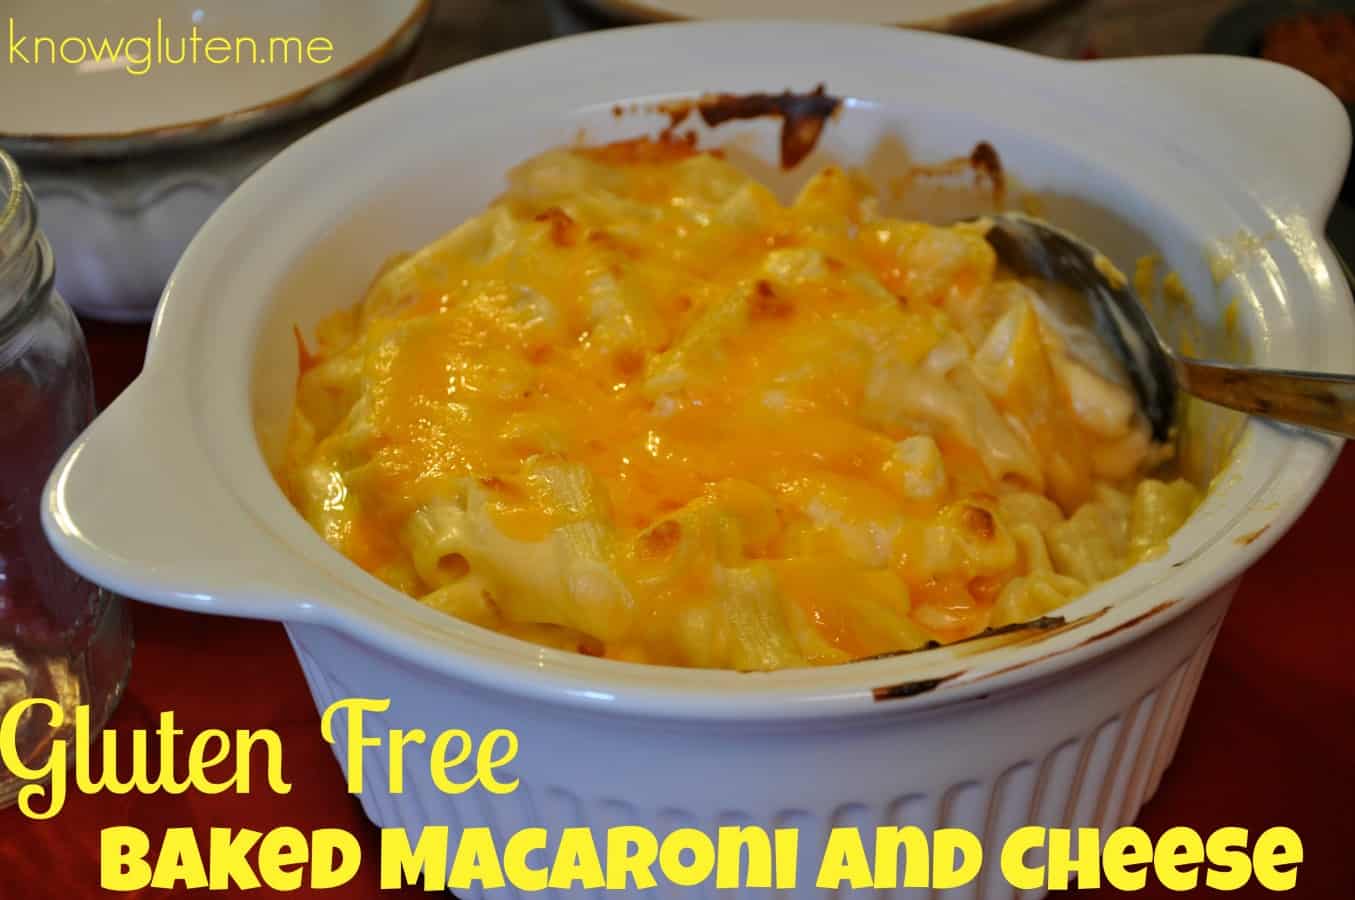
Easy Gluten Free Baked Macaroni and Cheese
Rich and creamy, this comforting gluten free baked macaroni and cheese is a perfect dinner for surviving the Polar Vortex!!
-
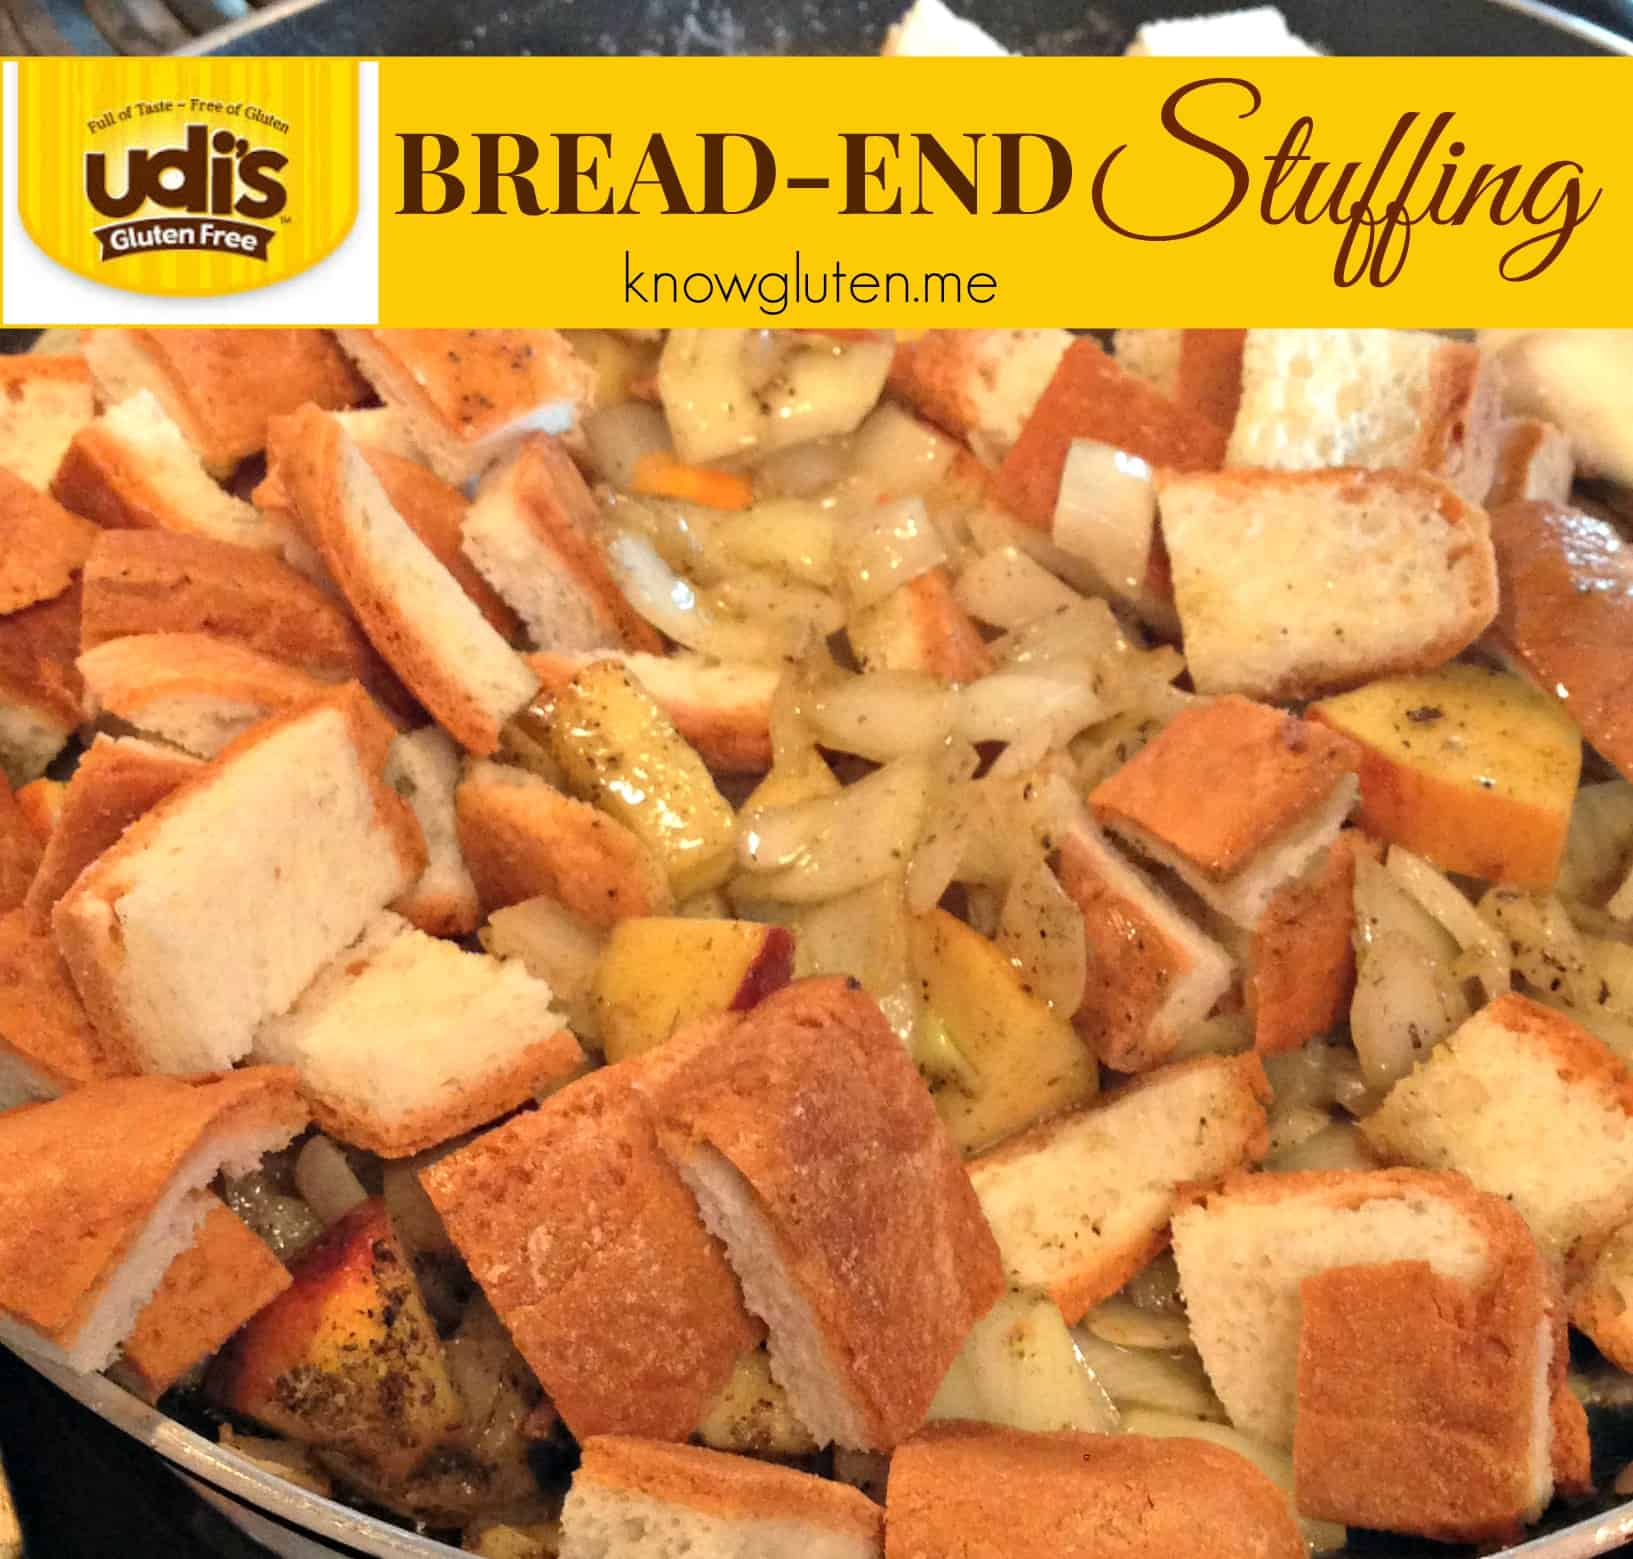
Udi’s Gluten Free Bread-End Stuffing for Turkey
Miss traditional bread stuffing in your turkey? This is a remake of a family favorite using Udi’s Gluten Free Bread-Ends that’s even better than the gluten -filled original.
-
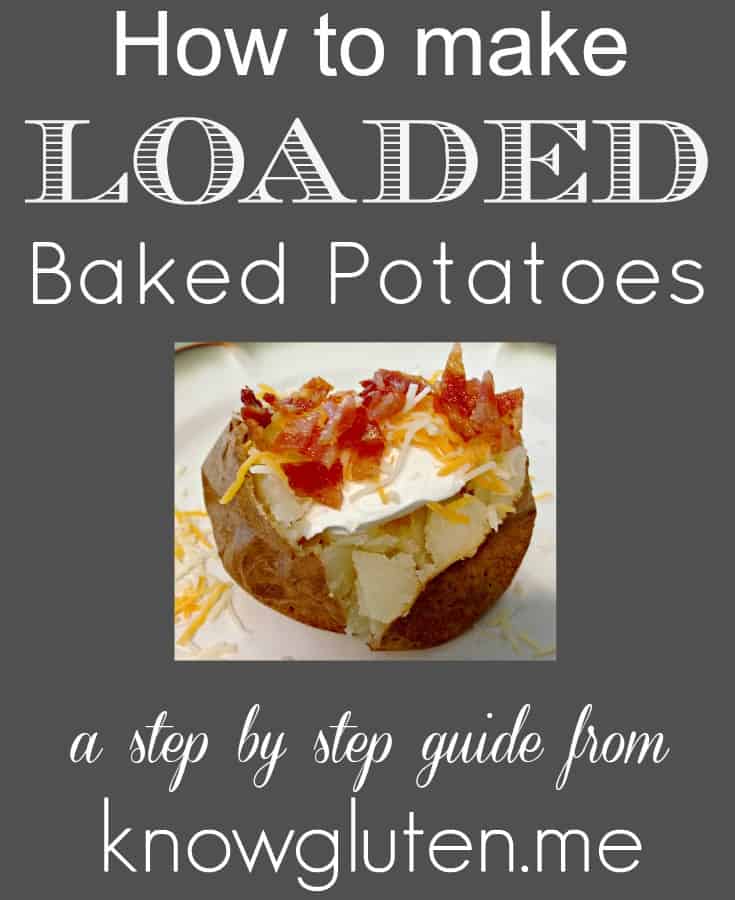
How to Make Loaded Baked Potatoes – A Step By Step Guide from Knowgluten.me
There’s something really amazing about a baked potato. Not a microwaved potato, but a hot, fresh from the oven, wrapped in crispy skin, filled with butter and sour cream baked potato.
-
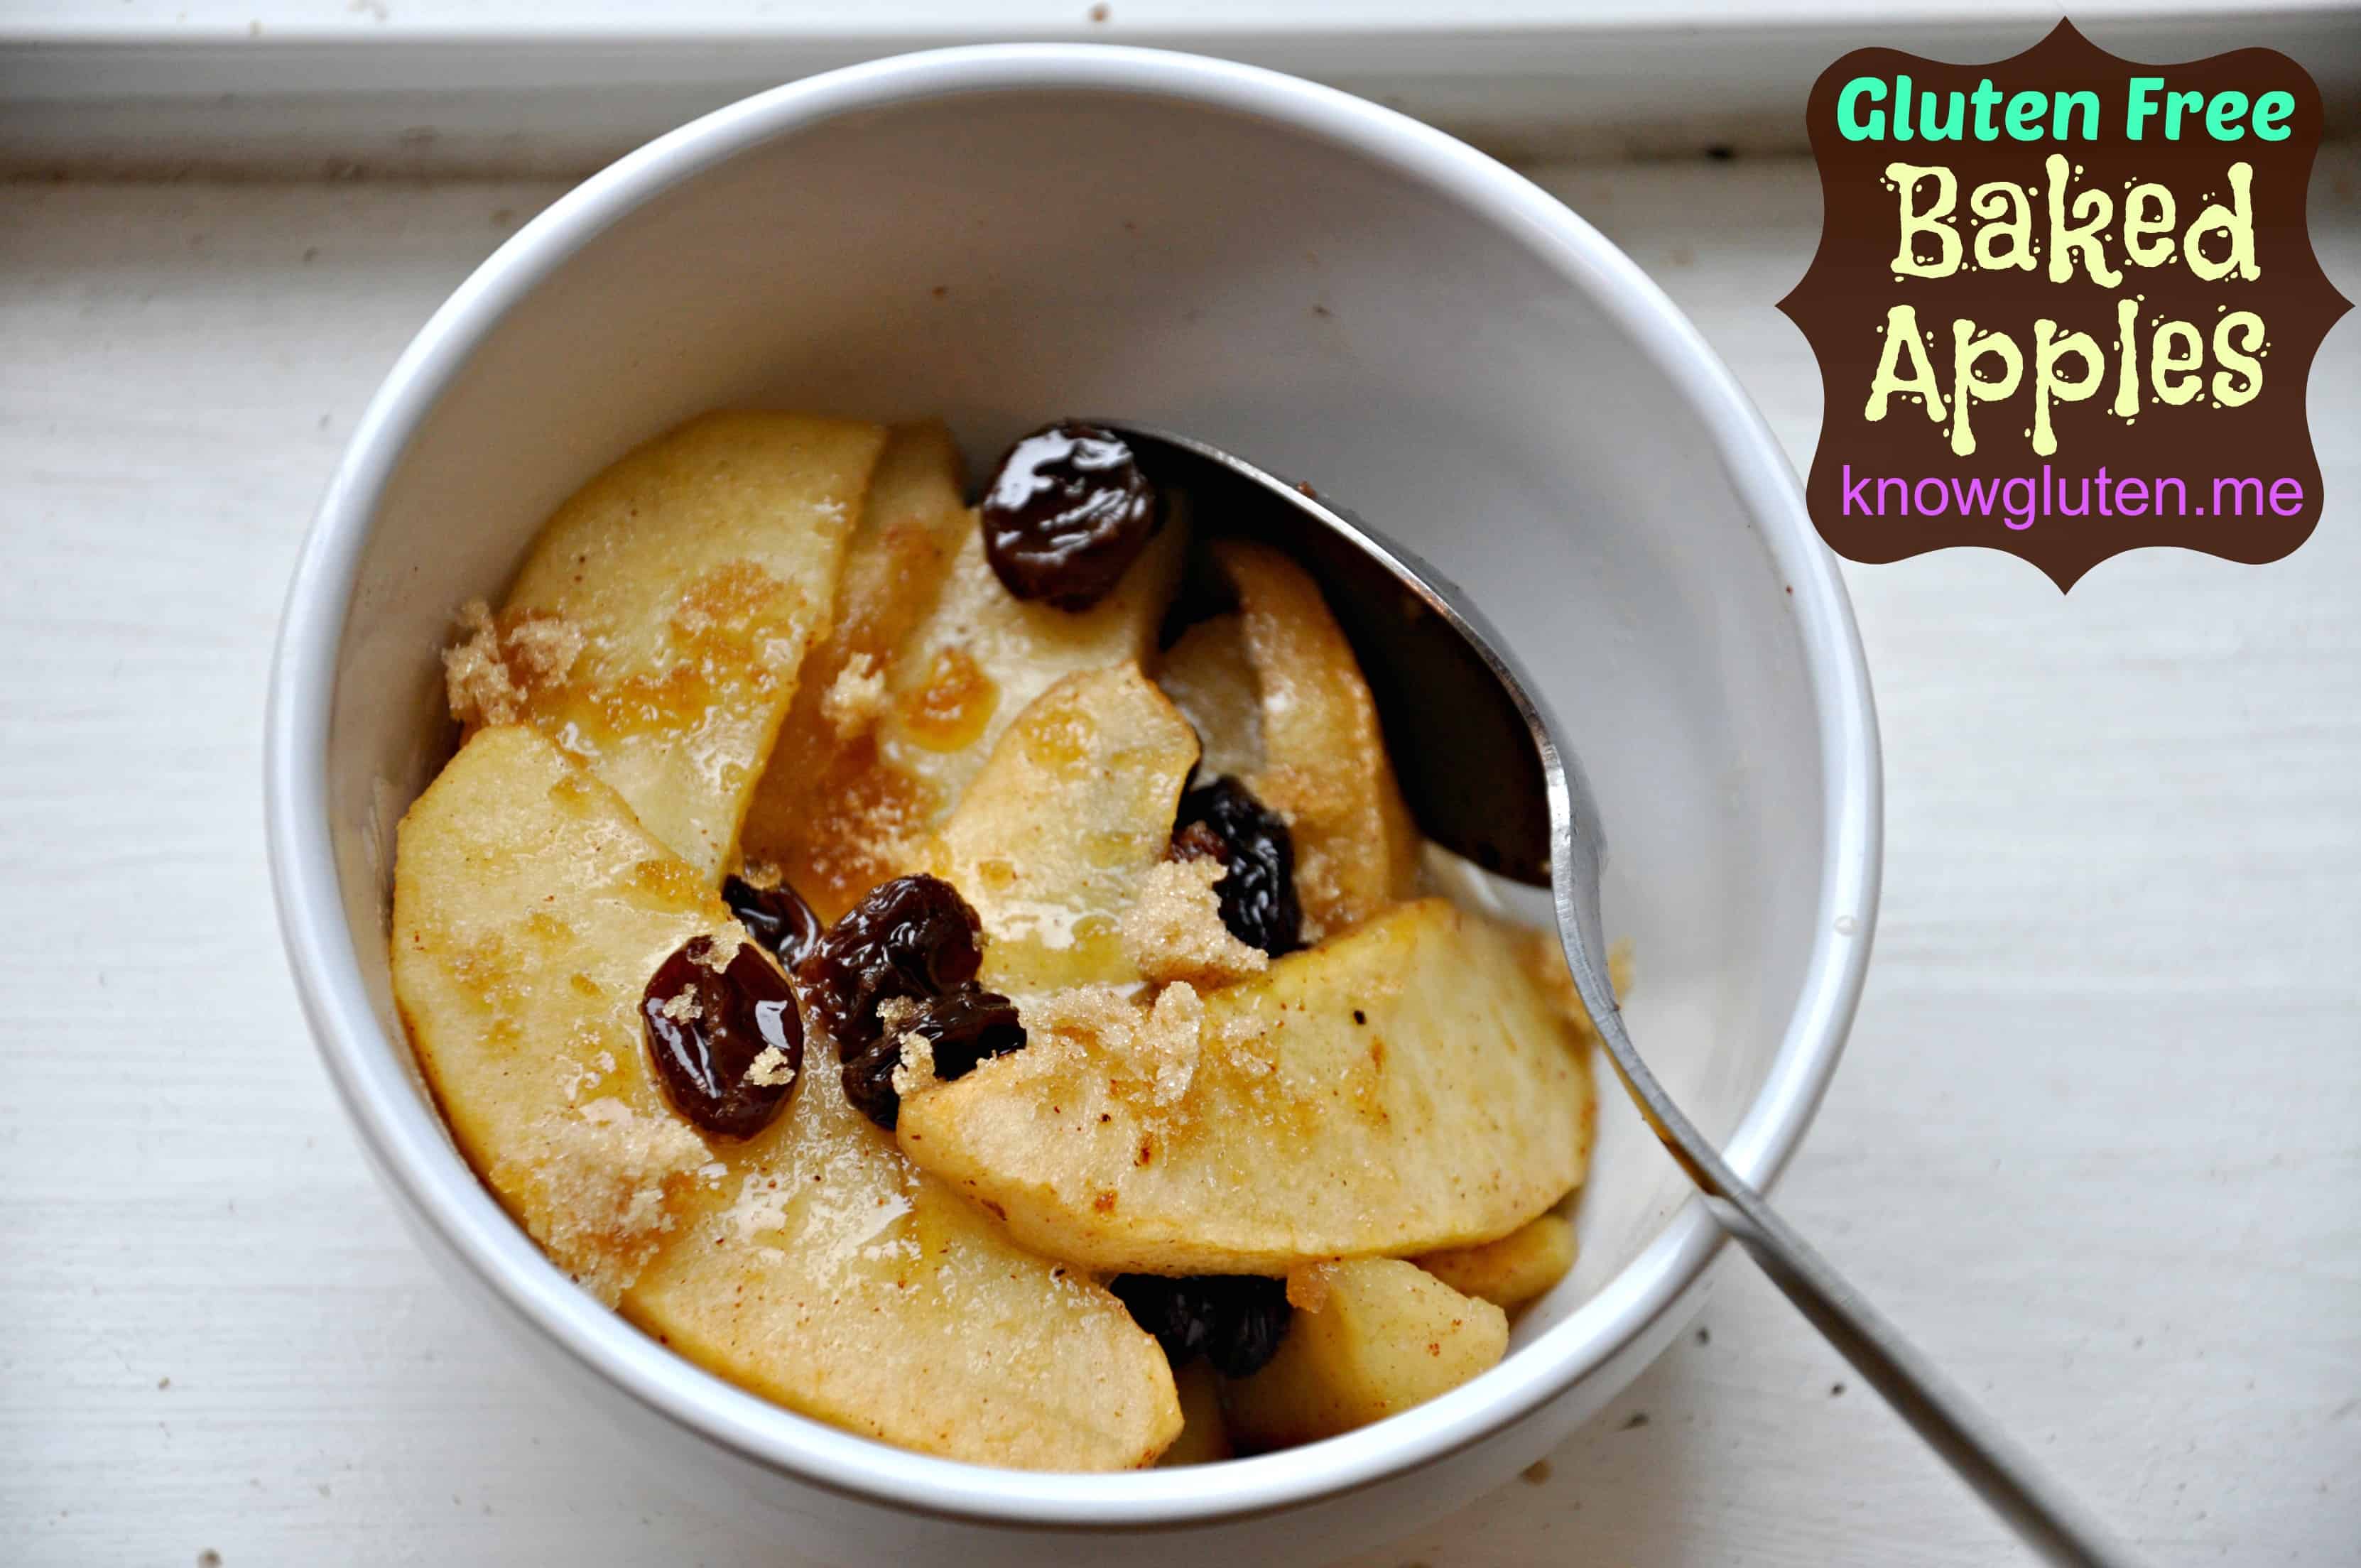
Gluten Free Baked Apples
Could baked apples be the ultimate gluten free comfort food? I love the sweet, warm, tender-crisp texture of this simple dish.
-
Gluten Free Cheese Grits
So, I might have mentioned, there are a few different eating needs and tastes in our home. Out of the 6 of us, we have three gluten free, one coconut allergic, one almond allergic, one vegetarian for health reasons, one with an intolerance to most raw vegetables, one legume allergic,…
-
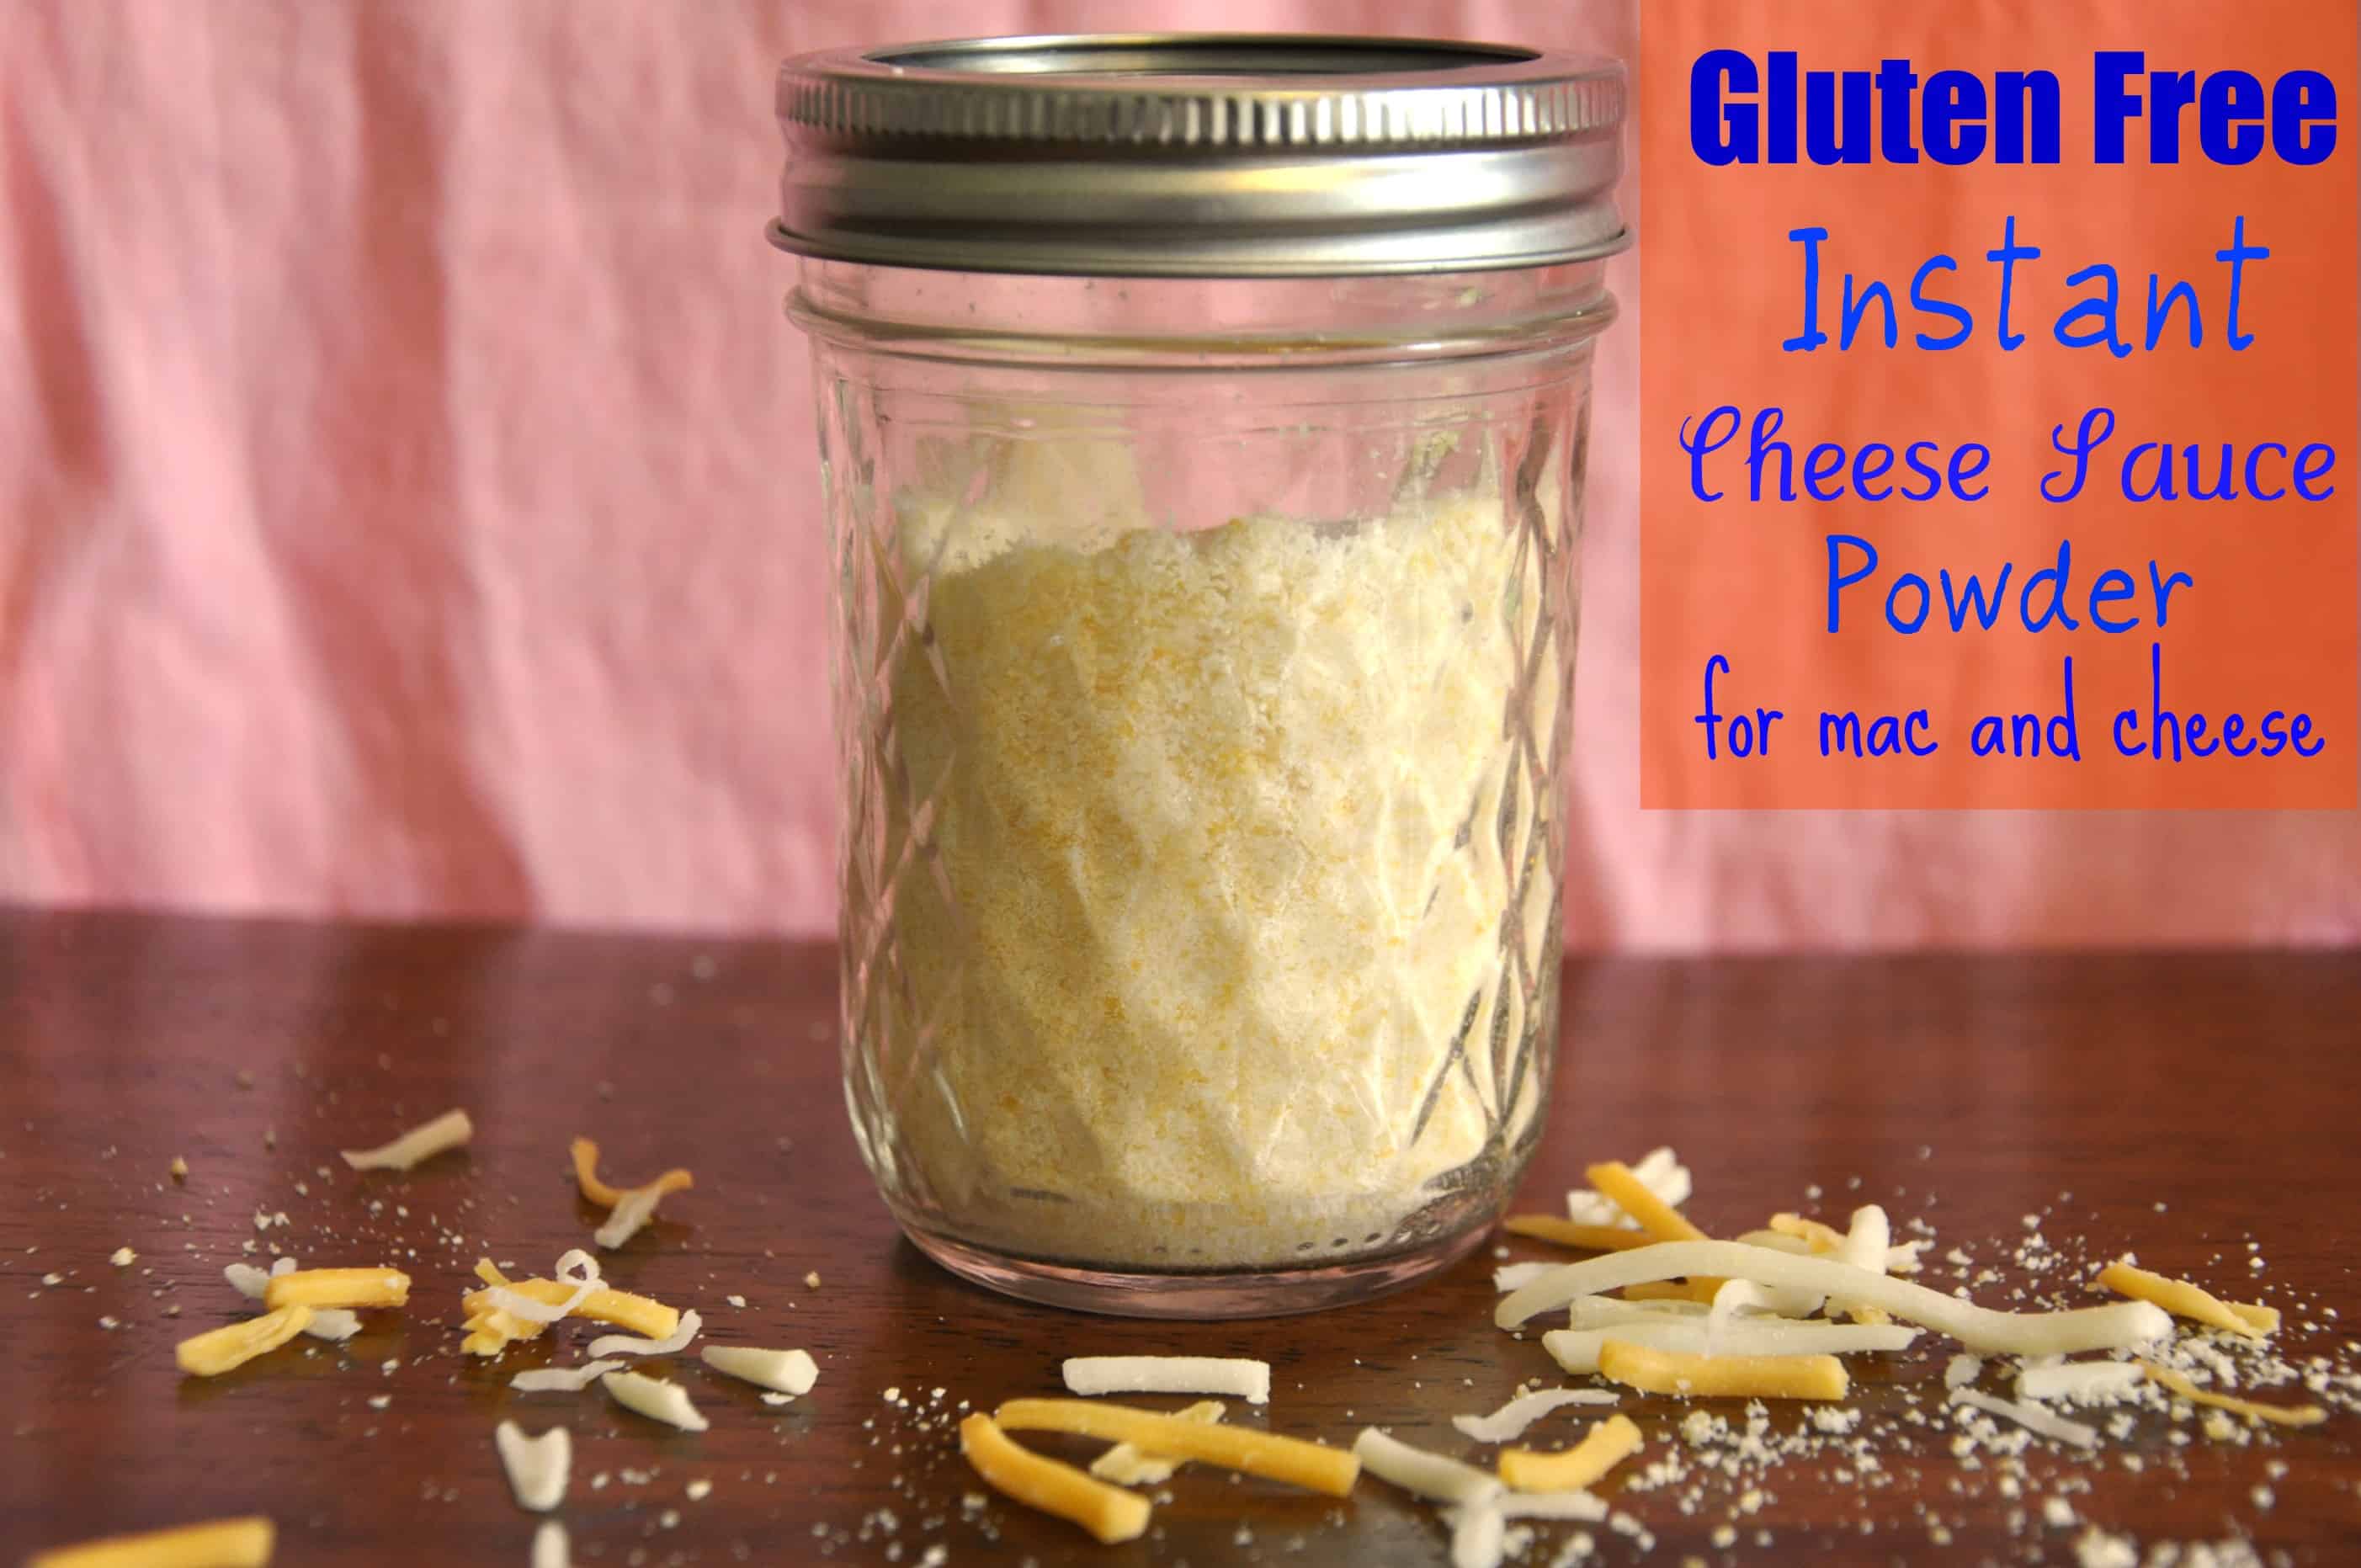
Gluten Free Instant Cheese Sauce Powder for Macaroni and Cheese or Kraft Dinner
Happy Canada Day!! Fun Fact: Canadians eat more Kraft Macaroni and Cheese per capita than any other nation. We may have other dishes that we associate with our nation (poutine, beavertails) but KD defines us in a special way.
-
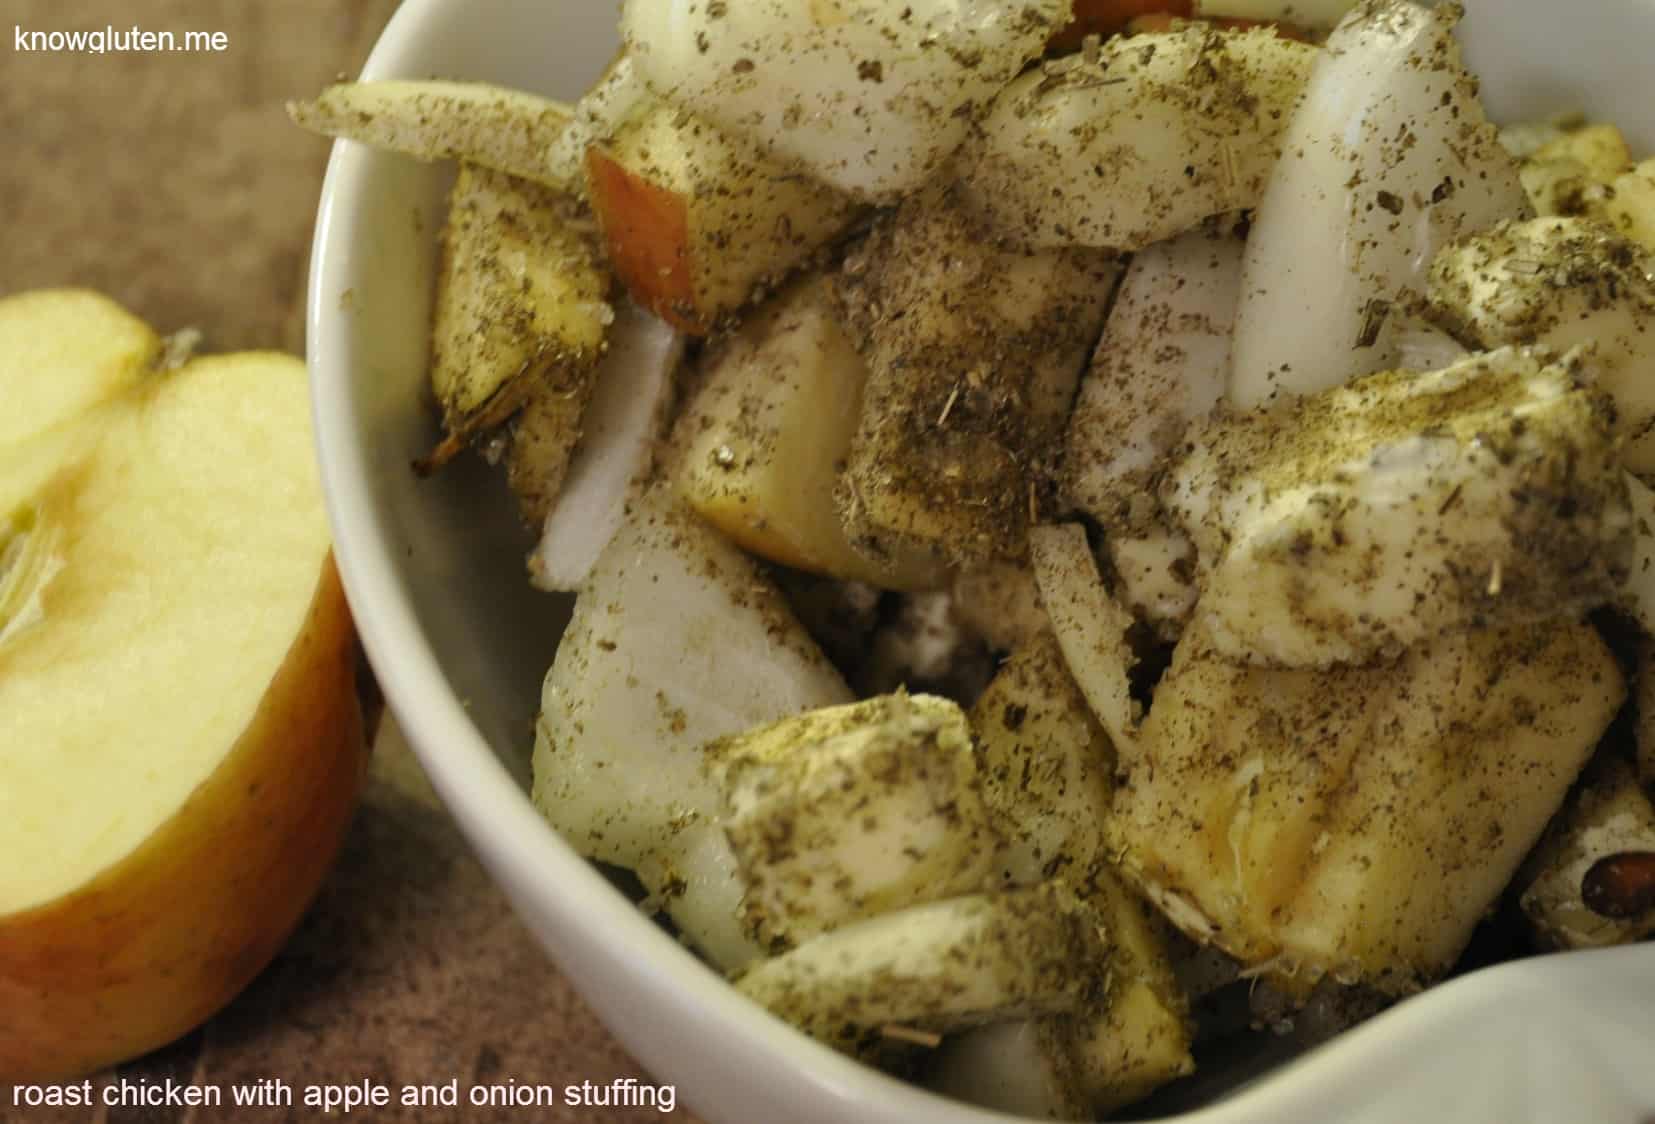
Gluten Free Roast Chicken with Apple and Sweet Onion Stuffing
The best part about a roast chicken? In my gluten eating days it was the stuffing. I especially liked the way it flavored the chicken with it’s salty, savory goodness. A roast chicken without stuffing seems a little bland, doesn’t it? Today I’m going to show you a way that…