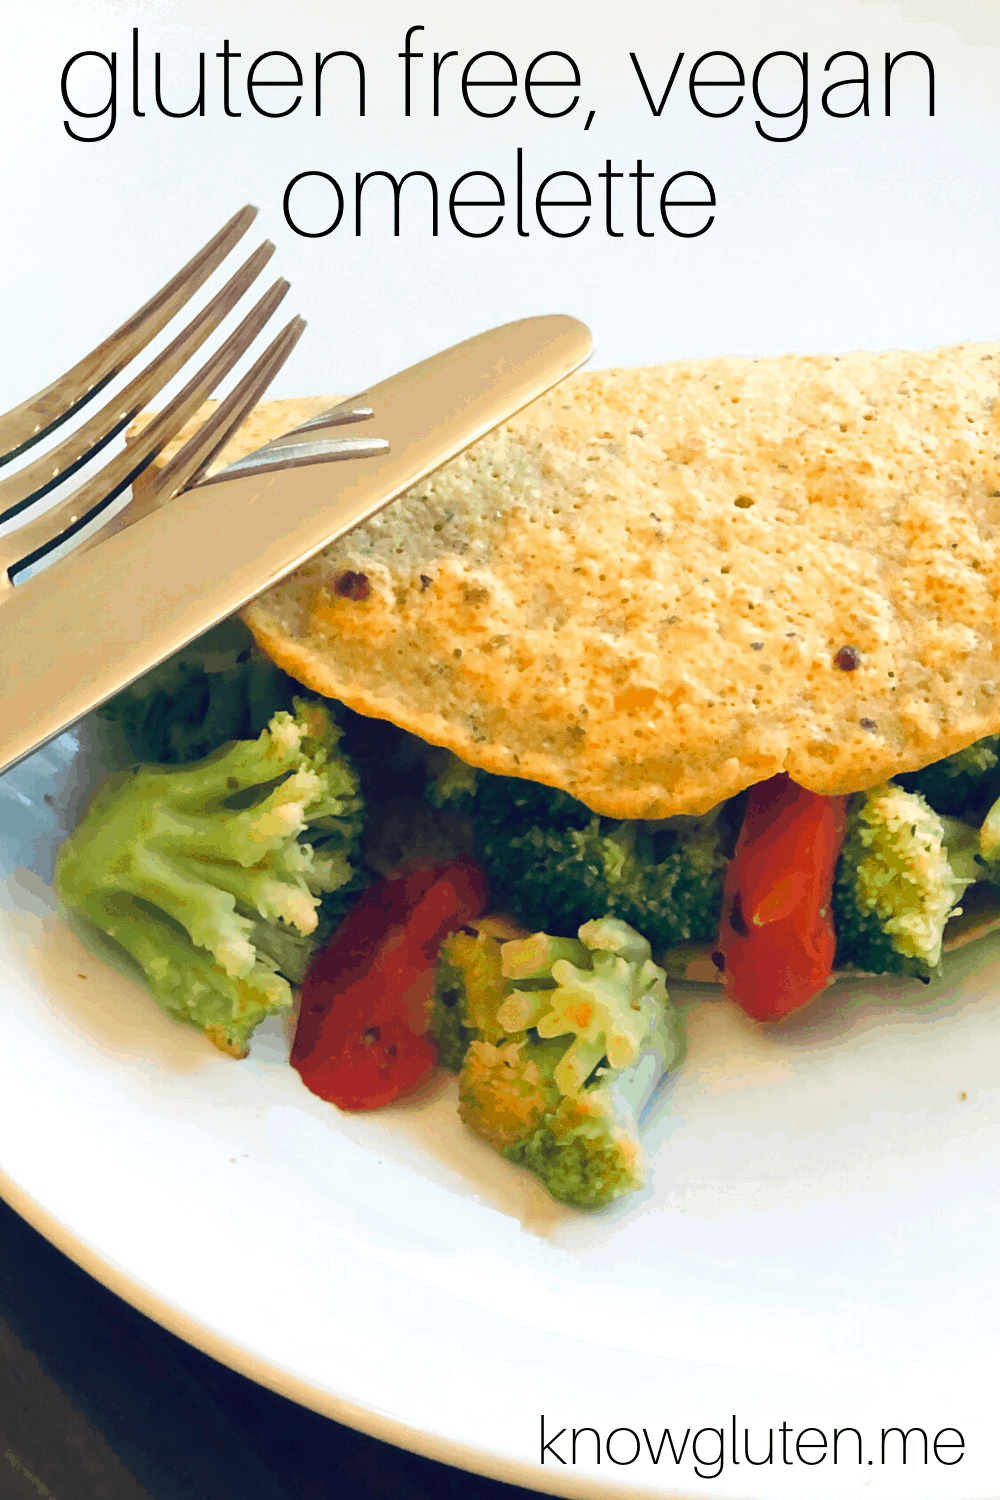
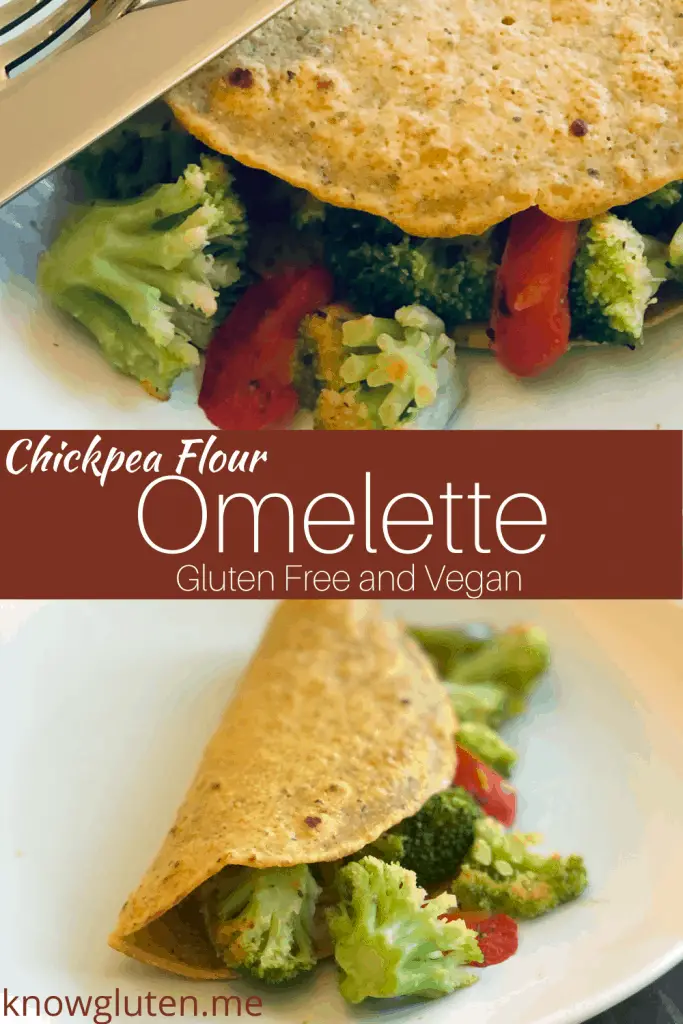
Surprise! This gluten free, vegan omelette is made with chickpea flour! It’s a fantastic egg-free substitute to hold all your favorite omelette fillings. And it’s quick and easy to make. Buy your chickpea flour at an international grocer where it’s so much cheaper for some budget friendly “fast food.”
Remember last year when our lives were completely changed? A lot of us started spending more time at home. Remember when we were all told how much more we would get done as a result? We were going to learn seven languages and get super buff with our kettlebells and floor mat exercises. If we didn’t, what the heck were we doing with our time?
Life Requires Faster Food
Well, it turns out, we were working at home, while homeschooling our kids, and every single thing we did for entertainment, we did in our living room. And for some reason when all of us were home all the time we produced seven hundred times more mess than we ever made when we left the house. (This was the year I discovered that speed-wash setting on my dishwasher). I have yet to learn even one new language.
And surprise, surprise, despite all the commercials that showed random laughing people baking up a storm, not a lot of us had the extra time, money, (or will to clean up yet another mess) to cook much more than the bare necessities. Instead of baking elaborate layer cakes, I started making meals that were as convenient as possible!
Things are getting better. We’re leaving the house, and socializing a bit, so there’s less mess and more emotional energy, but I’m still loving those convenient meals!
One of my faves has been this gluten free, vegan chickpea flour omelette. I love that I can whip up a batch to cook right away, and store the leftover batter in the fridge to use all week. It’s super versatile and I can fill it with whatever I like (my very favorite filling right now is sauteed mushrooms, onions, and broccoli and topped with a slice of Chao vegan cheese. Yum.)
Tricks and Tips
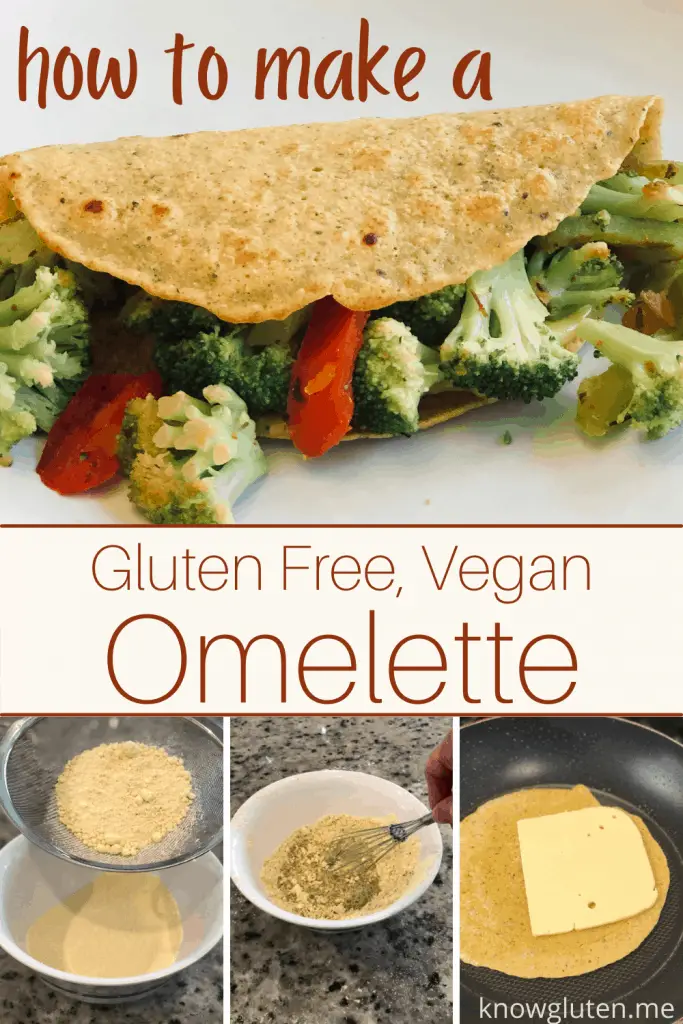
Chickpea flour can get clumpy!! If you have a sifter, this would be a good time to use it. If not, you can shake the flour through a metal mesh strainer (not too fine, or it won’t shake through) or just be prepared to get those clumps out by gradually adding the water while whisking alot or mixing with an electric mixer. The longer the batter sits in the fridge, the more water the flour will absorb, so you may need to add a splash if it’s been a few days since you made it.
Where Do You Put Your Filling?
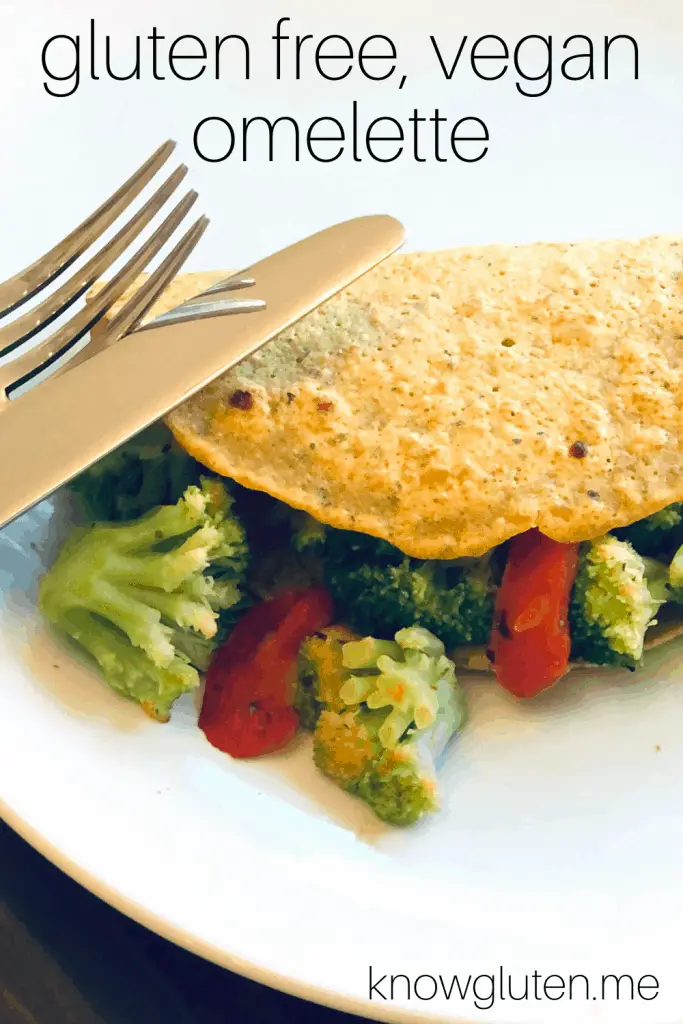
Some people mix their omelette filling right into the batter. That’s actually how I grew up eating omelettes. I had no idea that there was another way until I started going to hotels that had build-your-own-omelette stations at breakfast. There, they cooked the fillings and omelette separately and then placed the filling in the middle of the omelette and folded it over. Like a soft taco that you eat with a fork. For this recipe, I’m using the fold-over method, not the cook-in method.
Ingredients
Chickpea Flour
The first time you buy chickpea flour, it doesn’t matter where. Just buy a small bag at your grocery store to try it. Once you fall in love with this vegan omelette recipe, look for an Indian or International grocer and buy it there. You get way more for way less money. I buy a big bag and then store the flour in an airtight container in my pantry.
It can be a little bit clumpy, and usually just mixing it well will take the clumps out, but to save yourself some time, using a flour sifter or shaking the flour through a fine mesh strainer will quickly take the lumps out. (You can get either at a big box store for 5 or 10 dollars.)
My Gluten Free, Vegan Corn Muffins are also made with chickpea flour!
Nutritional Yeast
This is also something I buy large amounts of. Nutritional yeast tastes cheesy, without being cheese. I use it as a replacement for Parmesan Cheese in many things I cook. I get the taste of cheese without the fat and calories. Plus it’s an additional source of protein and vitamin B12.
Mrs Dash’s Garlic and Herb
Wow, Mrs Dash has come a long way from her original salt-free seasoning. If the original was your last taste of Mrs Dash, you might be skeptical of any of the new flavors. I was surprised at how good they are. (I still don’t like the original tho). The Garlic and Herb adds a really nice flavor to this wrap, if you can’t find it, or just don’t want to go to the store for it, you can replace it with a pinch of garlic powder and a sprinkle of Italian seasoning. (There are a few other things in the Mrs Dash, but that would do it for ya).
Water
Easy peasy, this gluten free chickpea flour wrap requires equal amounts of chickpea flour and water. Also, why do some cookbooks leave the water out of the ingredients in a recipe? I kinda like to get everything out on the counter before I start to assemble and I hate getting hit with “add a surprise cup of water that we failed to tell you about” in the middle of my flow.
Salt
I personally don’t put any salt in mine at all. I feel like the nutritional yeast and Mrs Dash add enough flavor to this gluten free, vegan omelette batter, but I normally use salt very sparingly and my tastes have adjusted to that. If you regularly eat a lot of salt, you might find it very bland without some. A quarter teaspoon should be enough.
Gluten Free, Vegan Omelette

Surprise! This make-ahead gluten free, vegan omelette batter is made with chickpea flour! It's a fantastic egg-free substitute to hold all your favorite omelette fillings. And it’s quick and easy to make.
Ingredients
- 1 cup Chickpea Flour
- 1 cup Water
- 2 tbsp Nutritional Yeast
- 2 tbsp Mrs Dash Garlic and Herb Seasoning or 1 tsp garlic powder and 1 tbsp Italian Seasoning
- ¼ tsp Salt (optional)
Instructions
To Prepare Batter
- Sift chickpea flour into a mixing bowl.
- Stir in water, nutritional yeast, Mrs Dash, and salt until smooth.
- Let sit for at lest 10 minutes for the flour to absorb some of the water.
To Cook Omelette
- Spray a 10 inch non-stick frying pan with Pam Spray.
- Pour ⅓ cup of batter into the pan and swirl slightly to spread it out.
- Heat over medium-high heat until the edges of the omelette are dry and the top is completely set. The bottom should be just starting to brown.
- Meanwhile, cook your omelette fillings, set aside and keep warm.
- Flip over, place the cheese on top, and cook the other side for another minute or so while the cheese starts to melt.
- Carefully slide the omelette onto a plate and top one half with your preferred filling. Fold the other half over the filling and serve.

