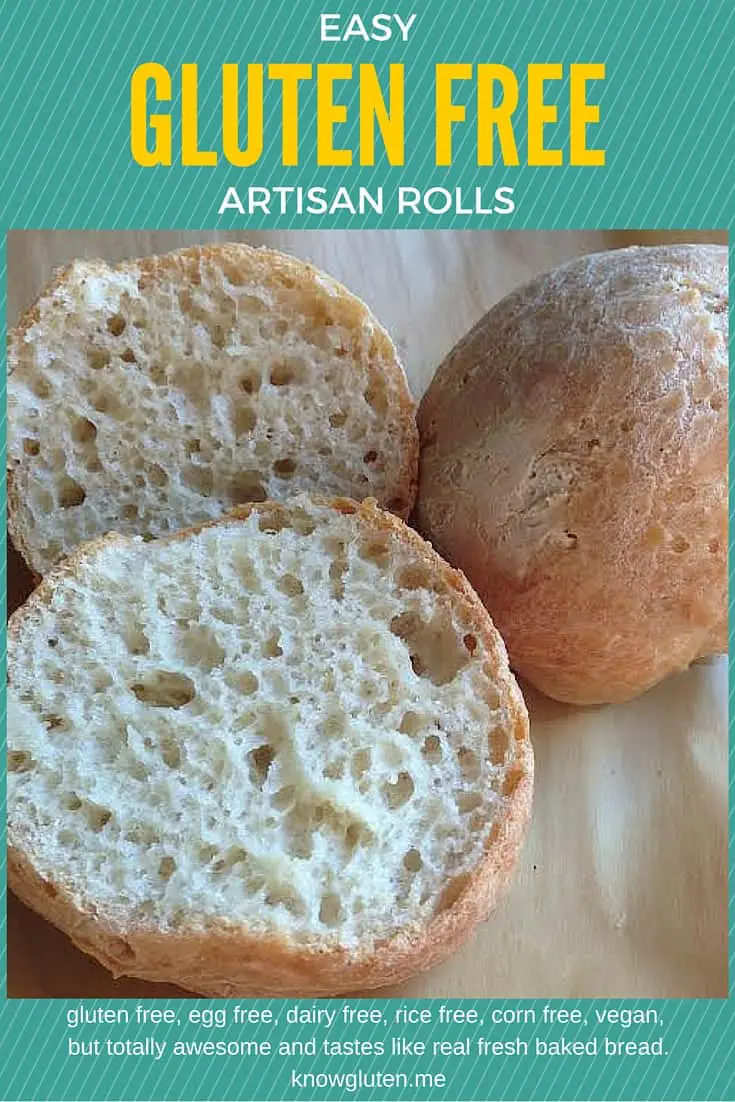
You can not tell that these artisan rolls are gluten free. They’re fresh and spongy and chewy just like fresh baked rolls from a bakery.
For a while, no-knead artisan bread was a real trend. Even my hairdresser was making his own gluten free artisan bread with flour that he bought at a local farmers’ market. Nothing is more homemade than bread made with locally milled flour.
I loved the idea of making my own gluten free bread. The store-bought stuff is expensive (um, seven dollars a loaf?) And even when you spend the money, the bread you get isn’t always great. These gluten free artisan rolls solve these problems. They’re really good. And they cost much less than the better store-bought gluten free bread.
Don’t be intimidated!!
But making your own bread is, so, Little House On The Prairie! Who has time for that? Actually, you probably do. The dough for gluten free artisan rolls really takes very little time to make. And it’s easy as anything to bake up. After the first time, it might even become a staple in your house. I’m sure you can do this without much help, but I’ve included some tips below just to boost your confidence.
Notes for Making Gluten Free Artisan Rolls
Use a Stand Mixer
I used a stand mixer for this recipe because of the amount of dough. I haven’t tried this with a handheld beater so I’m not sure how well one would work. If you have access to a stand mixer, use it.
You Will Need A Big Bowl
This makes a big batch of dough and it rises to more than double its size. You will need a big container to rise and store it in. (I use a 3.7L Rubbermaid bowl that is not quite large enough, but I make it work.)
Make the Whole Recipe
A friend asked me about halving the recipe. I haven’t done this, but the measurements are easily halved. But since I haven’t tried halving the recipe, I’m not sure of the results. You can keep the dough in the fridge for a long time and bake rolls as you need them, so go ahead and make the whole recipe.
Let the Dough Rise, Then Let it Sit in the Fridge
After you mix the ingredients, transfer the dough to your large plastic container. Cover the dough loosely with plastic wrap, put the lid on but don’t seal the lid, and let it rise in a warm room for 2 hours. Then put it in the fridge for at least 3 hours before you use it. This will make it easier to work with.
Don’t EVER punch down the dough.
Gluten Free Artisan Dough does not need to be punched down. This will wreck it. Don’t do it.
Just Bake What You Will Eat Today
These rolls go stale very quickly. Very. So just make what you need for the day (or better, for that meal). Once the dough is made, it takes less than 5 minutes to plop rolls on a cookie sheet.
Once you put the dough on the cookie sheet, you need to cover it with plastic wrap and let it sit for an hour to warm up before you bake it. Baking takes about 30 mins.
Keep The Dough in the Fridge for Up To 10 Days
You can keep the dough for these gluten free artisan rolls in the fridge for up to 10 days. Keep the lid slightly open so that it can “breathe.” I’ve kept it a little bit longer and it turned into a yeastier sour dough tasting roll. But all the directions I’ve ever read say no more than 10 days, so I should probably recommend that for food safety’s sake.
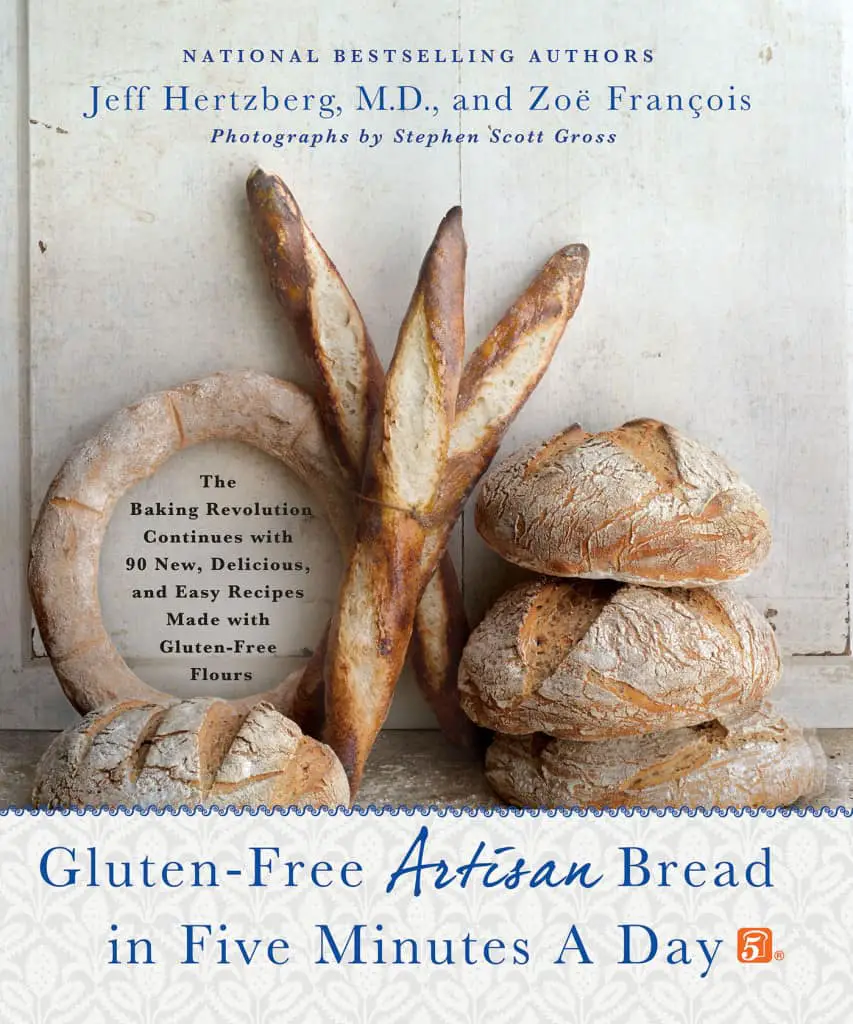
If you’re looking for more artisan bread recipes, check out my review of Gluten Free Artisan Bread in 5 Minutes a Day, it includes a sneak peek recipe.
Ingredients
Bob’s Red Mill Gluten Free All Purpose Baking Flour
It’s really important when baking gluten free recipes that you use the recommended flour because there really isn’t any consistency across brands or types. This recipe calls for Bob’s Red Mill Gluten Free All Purpose Baking Flour. It’s very different than the 1 to 1 flours that you can buy. (This flour has the red label, not the blue one). It has a garbanzo bean base and that makes it very dense and makes it hold together really well. This recipe hasn’t been tested with any other flour so if you do use something else, you might not get the same results.
Tapioca Starch
This is also called tapioca flour. You can buy it at most grocery stores, but it’s much cheaper at an International or Asian Grocer. I buy tapioca starch from Thailand at my Asian Grocer and it only costs about a dollar a bag.
Yeast
I buy the envelopes because it’s easiest. I use Fleischmann’s yeast in the yellow envelopes. It’s easy to find locally and the company considers it gluten free.
Sea Salt
Don’t leave out the salt! It makes a huge difference! (Ask me how I know). There seems to be a lot of salt in this recipe, but there is a huge amount of dough. It’s not salty, it just gives the rolls flavor.
Xanthan Gum
Xanthan Gum replaces the stickiness that is missing when you bake without gluten. (Gluten glues the baked goods together.) It seems expensive for the size of bag you get,, but you only need a teensy bit of it, and a bag keeps forever. If you’re going to do a lot of gluten free baking, it’s worth picking some up.
Honey or a Vegan Substitute
Honey is a great sweetener for these gluten free artisan rolls. But if you’re vegan, you can use molasses, maple syrup, cane syrup, corn syrup, or sugar.
Warm Water
How warm? 100 Degrees fahrenheit. Experienced bakers say they can tell this by touch. I use a drug store medical thermometer to test my water temperature.
Gluten Free Artisan Rolls

You can not tell that these artisan rolls are gluten free. They’re fresh and spongy and chewy just like fresh baked rolls from a bakery.
Ingredients
- 4 ½ Cups Bob’s Red Mill Gluten Free All Purpose Baking Flour
- 2 Cups Tapioca Starch
- 2 Envelopes Yeast (or 4 ½ tsp if you have a jar instead of envelopes)
- 1 ½ Tablespoon Sea Salt
- 2 Tablespoons Xanthan Gum
- ¼ Cup Honey (if you're vegan replace with molasses or maple syrup)
- 3 ¾ Cups Water at 100 degrees fahrenheit I use tap water and measure with a thermometer
Instructions
For The Dough
- In the bowl of a stand mixer, combine flour, starch, yeast, salt and xanthan gum.
- Pour in water and honey.
- Mix very well until completely smooth.
- Pour dough into a tall plastic container that will allow the dough to grow to about 3 times it’s current size.
- Cover loosely with plastic wrap and set in a warm area.
- Let rise for 2 hours.
- Place in fridge for at least 3 hours to become firm enough to handle.
For The Rolls
- Drop scoops of dough onto a parchment lined cookie sheet. (I use an Oneida Trigger Ice Cream Scoop lightly greased with olive oil, buy the scoop here)
- Brush rolls lightly with olive oil.
- Cover lightly with plastic wrap and let sit for about an hour to warm up.
- Preheat oven to 420F
- Bake for 30-35 minutes, until rolls are a deep brown color.
- Let cool before serving.


